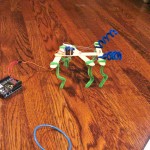
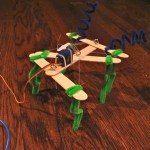
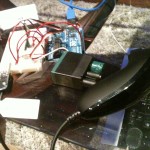
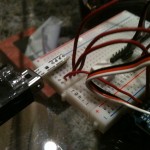
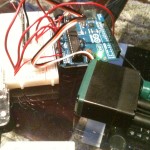
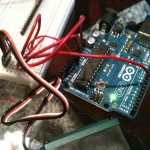
I saw this “Popsicle Bug” robot on this website. I was very inspired by it and wanted to make one of my own. It reminded me of my old lego projects that I did in college. Except this was very light weight. The original maker left it very organic which is what I wanted to do and its fairly inexpensive to make. I used regular thread from my wife’s stitching box instead of a fish line. You can pretty much use any string/thread thats strong enough to handle the tension.
Tag Archives: servo
Arduino: WiiChuck Servo
I used the code from this website to control a 3 wire servo. The todbot blog seems to have lot of projects. The wiring is done pretty much the same way as the WiiChuck before. The Servo pin is connected to D7.
Wii NunChuck
Red – 3.3V
White – Ground
Green – Analog In 4 (A4)
Yellow – Analog In 5 (A5)
Servo
Red – 5V
Black – Ground
White – Digital 7 (D7)
Arduino: Controlling a 3 wire Servo with Potentiometer
Used a 10k POT to control the 3 wire Vex servo. The two end pins of the POT went to 5V and ground. The middle connection of the POT was connected to the analog in 0 (A0). The servo was connected to the 5V (red), ground (black) and digital pin 9 (D9, white). Used the knob example from the Arduino.cc website to program the board. I was also able to print the Analog value of the POT by using the code from the AnalogReadSerial example.
This can be used for steering mechanism.
Arduino: Servo
Used a Vex 3 wire servo from VexRobotics. I used a small example code for Arduino called Sweep to see how far the servo can turn. I was happy to find out that it can do 180 degree instead of 100 degree.
(From Vex Robotics)
- Rotation:100 degrees
- Stall Torque:6.5 in-lbs
- Voltage:4.4 – 9.1 Volts (Motor life will be reduced operating outside this range)
- PWM Input:1ms – 2ms will give full reverse to full forward, 1.5ms is neutral
- Black Wire:Ground
- Orange Wire:Power
- White Wire:PWM signal
- Current Draw:20mA to 1.5 A per Servo

