Arduino: RC Car

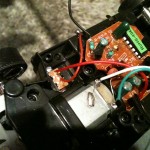
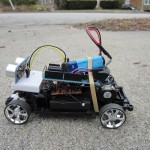
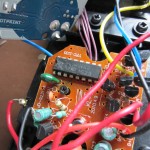
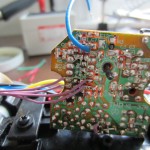
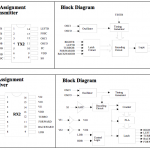
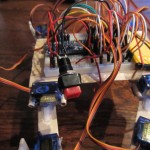
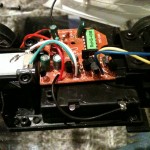
I had bought a RC Car from walmart for about $15 to use with the Arduino Motorshield a while back (see here). Fortunately, I had taken some pictures before I removed the RC receiver circuit from it. Turns out that its lot more efficient to use the onboard controller along with an Arduino instead of using a motorshield. I didnt some research and found out that many “cheap” RC cars use the same Realtek TX2 & RX2 chips inside. I was lucky enough to find the same inside this RC car.

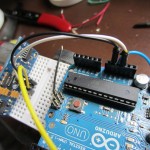
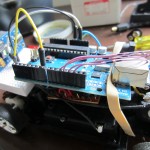
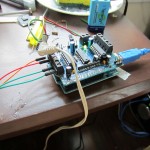
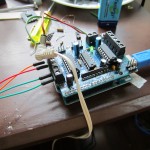
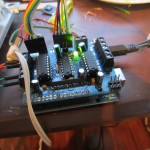
I was able to connect 5 wires to the Arduino and control the car by sending a HIGH signal directly to the RX2 chip. Here are the in assignments.

Arduino      RX2
Ground           PIN2 (GND)
PIN 13            PIN11 (Forward)
PIN 12            PIN10 (Backward)
PIN 11            PIN6 (Right)
PIN 10            PIN7 (Left)

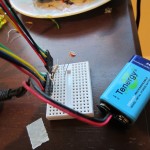
The 2 motors and the RX2 circuit is powered by 3xAA batteries in the car itself and the Arduino UNO was powered by a 9V battery. I also decided to add a PING sensor to make the car backup automatically when it comes close to something. The code is not perfect as you can see in the video, but it can be modified later.

TX2RX2.doc (Realtek TX2 & RX2 info)

CarBotPing.pde (Arduino Code)


Solar Spinner BEAM Bot

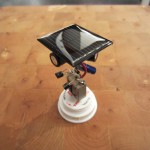
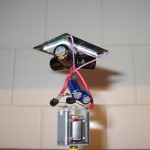
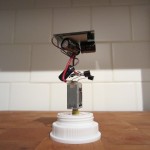
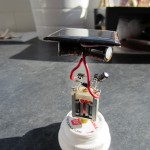
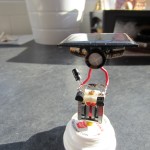
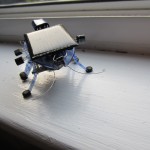
I have been doing some BEAM bot work on the side. Nothing exciting but I wanted to keep making them to get some practice/experience for future projects with solar circuits. This is basically a replica of the solar spinner thats posted here. It uses a Miller Solar Engine with a little modification.

Update: Added a timing capacitor (10uF) between pin 2 and 3 of the voltage trigger. Seems to work a lot better now.


Arduino: PhotoResistor Motor & Stepper Motor

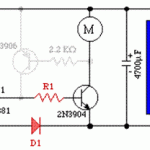
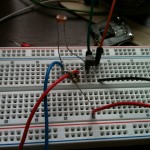
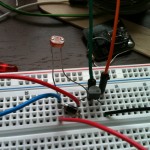
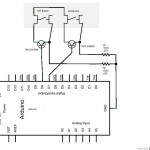
I bought a bunch of CdS photo resistors from ebay. The basic use of these is to change resistance depending on the ambient light it detects. More light = less resistance and less light = more resistance. You can set it up in a circuit with a DC motor to make it spin faster or slower. See attached image for the circuit. Basically when the transistor gets more ground on the base, it flows more current through, making the motor spin faster.

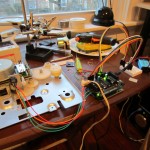
For Stepper Motor, I used the arduino code and information available here to setup the photo resistor with an Arduino Uno board. The resistance from the photo resistor is converted into an analog signal which in turn is converted to a integer value. This value can be used to turn something on/off. In this case, I used a stepper motor connected to a group of gears that I removed from an old HP laser printer. The stepper motor is connect to a motor shield and set to turn on when the “int” value of the photo resistor is 900 or higher. See attached Arduino code.

PhotoStepper (copy to .pde file)


Arduino: Walker (updated 2)

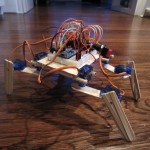
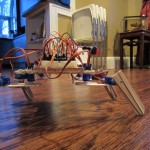
My own walker robot! Made with Arduino Uno.

All credit goes to lumi from LetsMakeRobots.com for his Chopstick Junior 1.0

Still need to work on the legs to give it a better grip. And cut down the weight by removing the breadboard and a lighter Arduino nano.

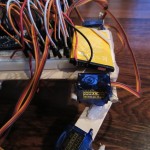
I have added some grip to the legs with some elastic rubberbands, but not much improvement. My Arduino Nano came in the mail so I have added that instead of the Uno board. This version also uses a blackberry phone battery that I mentioned in the previous post, it seems to work well.

Update 2:

Added more grip with the rubber fingers that are used in offices to count money/paper etc.


LEGO: NXT 2.0 Rex

Just got my christmas/birthday gift couple of days ago. Couldn’t wait to put it together. Say hello to Leo Mindstorms Rex.

There is no introduction necessary as you will find lots of info online about it. Just wanted to share some pictures and videos.


Arduino: WebSwitch

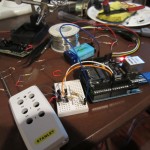
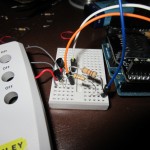
I found a remote control switch by Stanley at Bed Bath & Beyond for $10. It lets you turn on/off 3 electrical outlets with a small remote control. Its similar to this one on Amazon. I was able to open the remote easily and get to the buttons. I soldered couple of wires to the end of the terminals and was able to extend it out to the side of the remote. I connected the wires to a transistor to the emitter and collector. Used a 10k resistor to ground it to Arduino’s ground. Pin 7 & 8 were connected to the base of the NPN transistor (2N3904).

At first, I tested it with serial communication. The code would listen for a “1” or a “0” from the serial monitor and send a HIGH/LOW to pin 7 or pin 8 (1 for ON and 0 for OFF). Once I got that to work, I changed the code so it will read a index.php on a webserver. The index.php is set to read a txt file which has a 0 or 1 written to it by another PHP file. “On.php” will write a “1” to the txt file and “Off.php” will write a “0” to the txt file. When Arduino gets the information, it activates the appropriate pin to activate the transistor for 1 second.

RemoteSwitchWeb (code)
php files (copy these files to root of php server)

Arduino: TrackBot

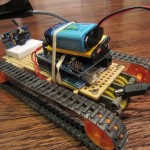
I have been trying to get a stable base for a Arduino track bot. I had trouble with coming up with a good battery for powering the 2 motors. I tried using a 9V battery but it consumed the power in a few minutes. I found a good alternative by using a blackberry phone battery which is about 3.7V DC (BAT-11004-001). The power lasted fairly long time and was sufficient enough for the track bots motor. I was able to connect it as an external power to the motor shield with an on/off switch allowing me to cut the power to the motor quickly. The code is similar to what I had before. Just a simple Ping sensor looking for the distance, backs up and turns when it senses something 8 inches away.

TrackBotPing

Original Video


Arduino: Halloween Skull

Decided to make a scary skull for Halloween. Bought a styrofoam skull from christmas tree shop. The eyes are actually toy rings for kids that hot glued on a round plastic and a BIC pen. Connected a couple of servos to an Arduino and a Ping sensor and it was good to go.

The video was taken before I added the Ping sensor, so I will add another one soon.

Completed Video


Solar HexBug

I was looking online on how to build small solar bots. I came across this website mysolarbot.com. It has lot of interesting ideas on how to convert small bugs and cars into solar bots. The solar engine thats used in the bots is based a 1381 voltage trigger engine that releases power to the motors when the trigger voltage is reached. I decided to buy a hexbug and a brainchild solar engine to build my own. Unfortunately the solar engine came with a voltage trigger that activates at 4.5V, which was too high for the bug to walk forward so it kept reversing. I thought the whiskers sensor had gone bad. But after discussing it with a rep at mysolarbot.com, he explained that I needed a lower voltage trigger, around 2V-3V. I bought the triggers and able to replace it fairly easily and get it working.

My next goal is to work on BEAM robots.


Maker Faire Rhode Island


Show your support

Make a Pledge

Share on Facebook

Follow on Twitter